Showing posts with label Lulu's diys. Show all posts

Thursday, January 8, 2015

DIY Bee and Puppycat- Bee's sweater!


So I'm sorry I didn't take progress photo's but I will use the pictures I took after the fact to do this tutorial!

I took this! 


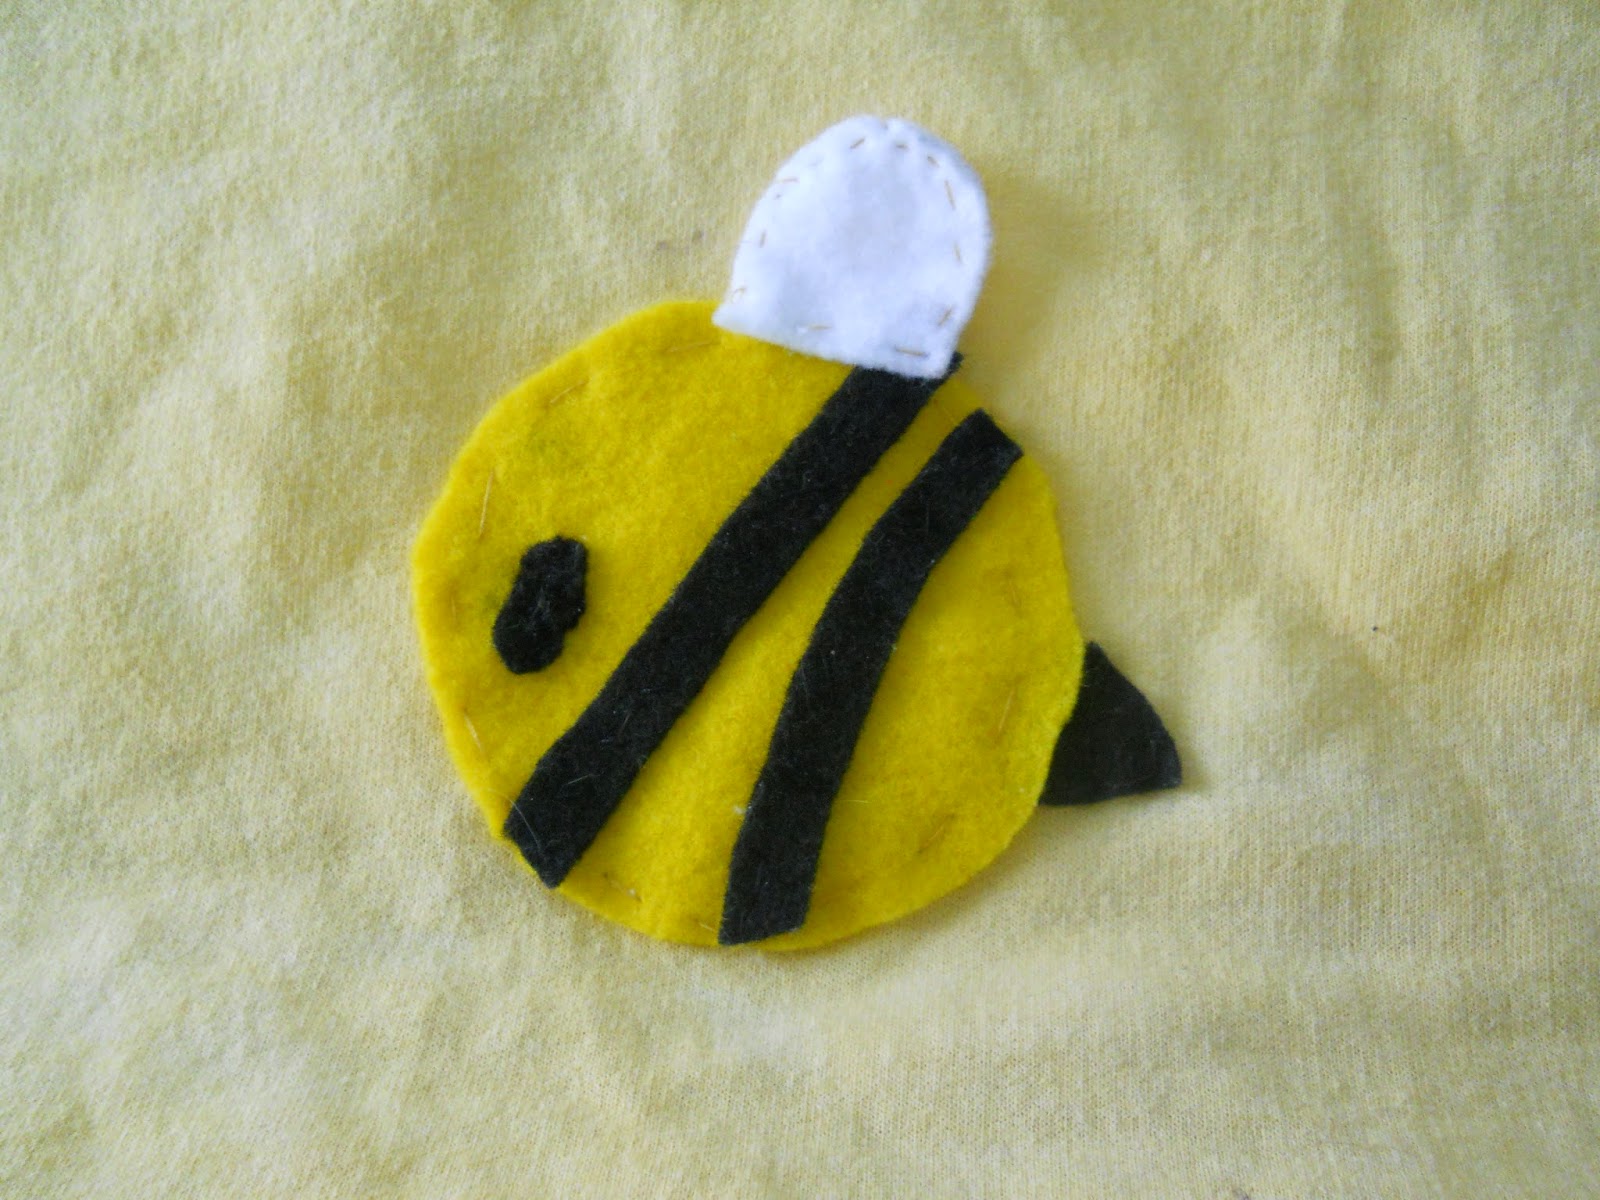
And made it into this!


You need!

- One white Hanes comfort blend long sleeved sweater(I got mine at walmart) Its also says Soft Sweats with Ecosmart yarn. It cost less then $10
- The dye I bought was a small packet of Tulpic Fabric dye, but what ever you want to dye it with is A-Ok!
- You need three squares of felt, Black, White, And Yellow
- Yarn/needle for hand sewing, or machine, whatever works!
- Hot Glue or fabric Glue if you don't want to sew
Directions!

Step one!

Dye that sweater! Just follow the directions and soak less time then recommended. I removed it sooner than later so that the final color would not be a very dark or strong yellow.

Step two Add the Bee

Once the sweater is all dry its time to add the bee and the collar. 


Lets do the Bee first!


  • Out of the Yellow felt you only need a smallish circle(depending on how big you want it to be). I left a bit of an angle at one end to give the impression of a nose. 
  • From the Black Felt you need 2 or 3 strips as long as your circle and depending on how much space you have on your circle for the strips. You also need a small triangle and a small oval. You could add a mouth if you want. 
  • Also you need one small wing from the White felt!
  • I used yellow and black thread for this. 


1) Sew/handsew/glue the yellow circle leaving a generous circle of space between the stitch and the edge. 
2) Situate the white wing slightly on top of the yellow circleand sew/glue into place
3) Situate the black triangle at the yellow circle's rear end and underneath the space between the edge and the stitch. Sew/glue into place. 
4) Sew/Glue the small black oval into place.
5) Arrange and Sew/Glue the black Strips into place. 

Step 3 Add the Collar


-For this collar you will only need 4 total pieces of the same shape. This is a peter pan collar and you can look up different references for it. I suggest making the pattern on a piece of paper to figure out how big you want it to be. 
        *I actually folded a piece of white felt(Hot Dog Style) and cut the peter pan collar in a way that the straight top part is on top. The bottom part that has curved edges is on the bottom and the 2 pieces are slightly connected due to the hot dog style fold. 

1) Make your peter pan collar pattern. Decide how big it should be.
2) Cut out 4 pieces(* see that paragraph to make this easier) 
3) Fold the top of the collar over the collar of the yellow sweater and sew/glue into place. Repeat for the other collar. 

And there you have it. One Bee sweater!


See it on me in my awesome Bee Makeup tutorial!

Follow me on Facebook! Follow us on Pinterest! and Subscribe to me on Youtube!


Sunday, August 10, 2014

Lulu Vs. Patterns: Snow White dress with Little to no pattern

Lulu VS. Patterns

I think its time I shared how I made this gorgeous dress with no real pattern. Lets see if you can keep up with my madness! 


The bodice.

Now this sounds crazy, like really crazy. But whenever I have to do a fitted bodice or corset fit bodice, I don't use a pattern. I use a video to help me trace out a well worn tshirt and I use their measurments to cut it up into the appropriate pieces. 


i used this video. 

And I wish I had done something like that for this one. 
I didn't measure it at all really and chose to make the general shape of her bodice and then I tailored it to fit my waist. Don't be like me, use the video. 


The sleeves

For big puffy sleeves like the ones for Snow White, I used a bubble skirt pattern technique. No joke, once you master how to gather materials, making a bubble skit is no big deal. 
But, for sure, check out these tutorials before jumping into anything. Practicing on scrap fabrics is a really good idea. 

Bubble Skirt!              Material Gathering!

I also used the gathering technique for the big yellow skirt. 
I did a lot of mixing and matching with these tutorials and without a tape measure it was hell. Use measuring devices, it will shave off so much time.

Now I hope this helped! Or at least it lets you into my madness....
Follow me on Facebook at Lulu16 Cosplay


Saturday, February 8, 2014

Cosplay WIP- RWBY's Pyrhha DIY tights plus Sphere and Foam armor Crafting sneak peak


So... that convention thing, ya that's closing in on me.... 

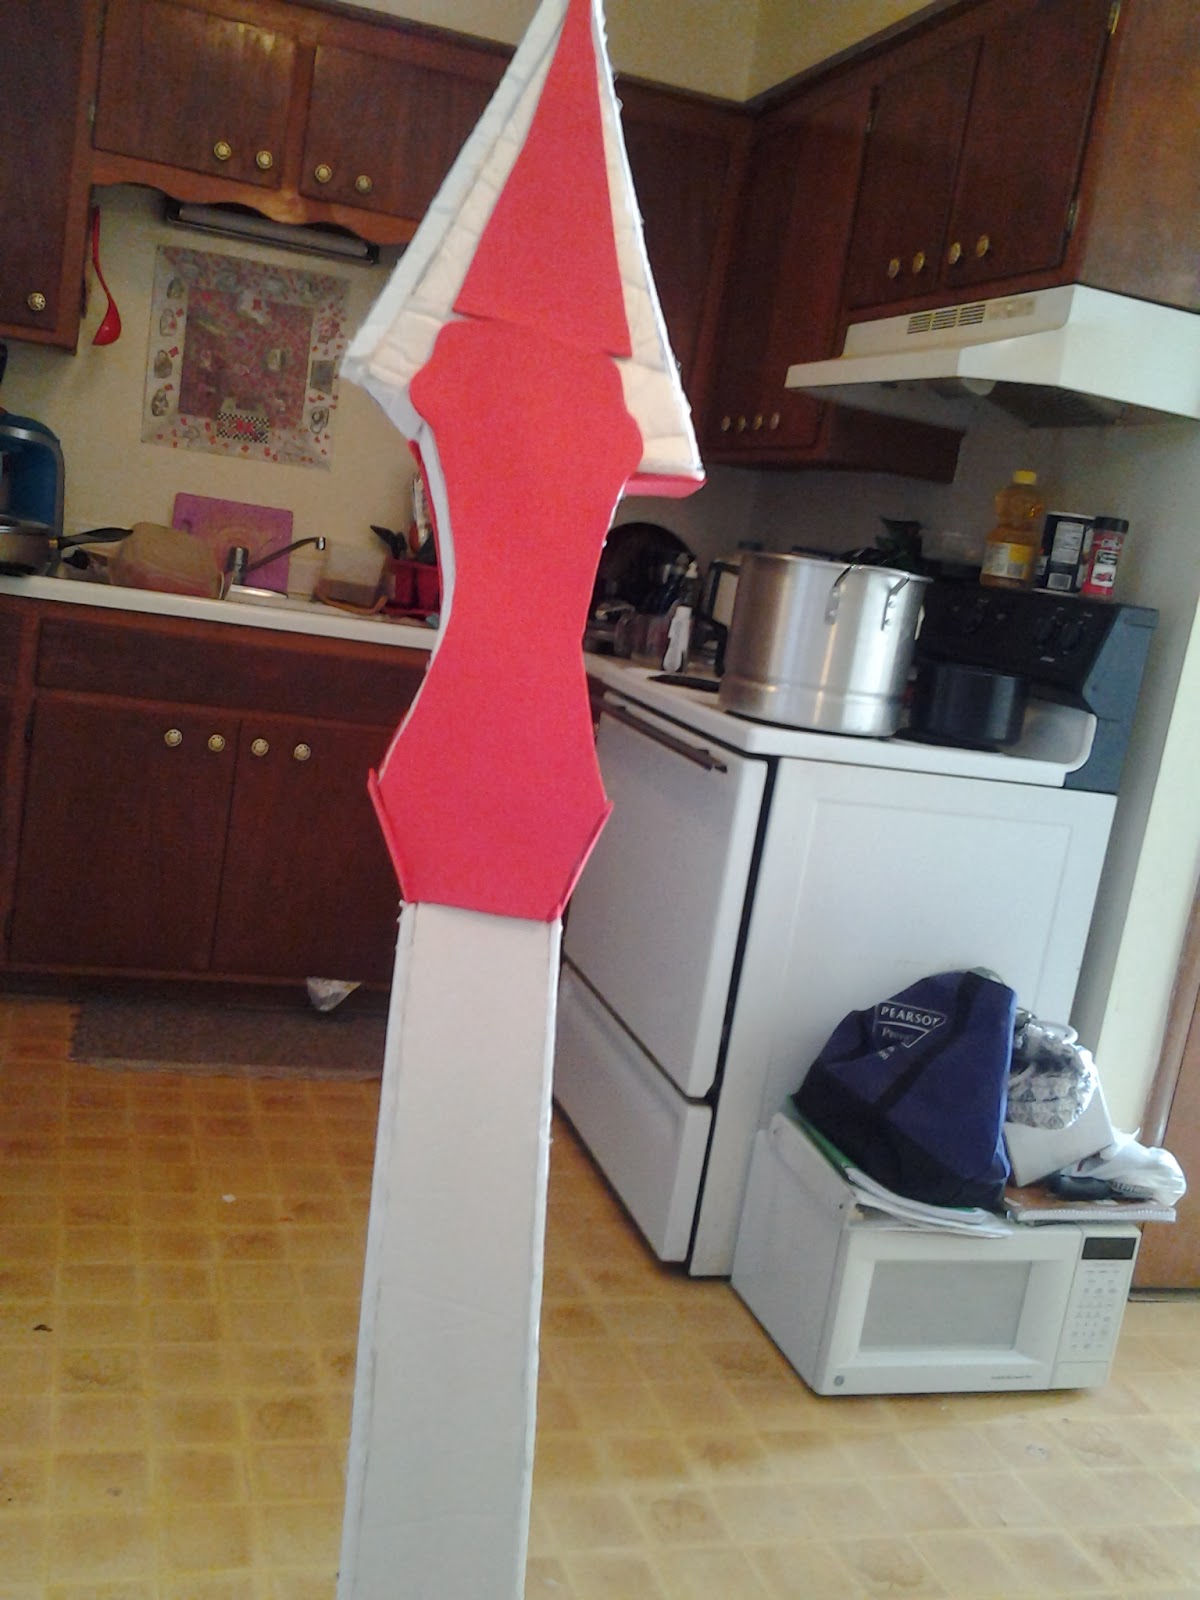
So I thought I'd share some more of my progress since everything is mostly done.... ok not really, but it is all manageable. 


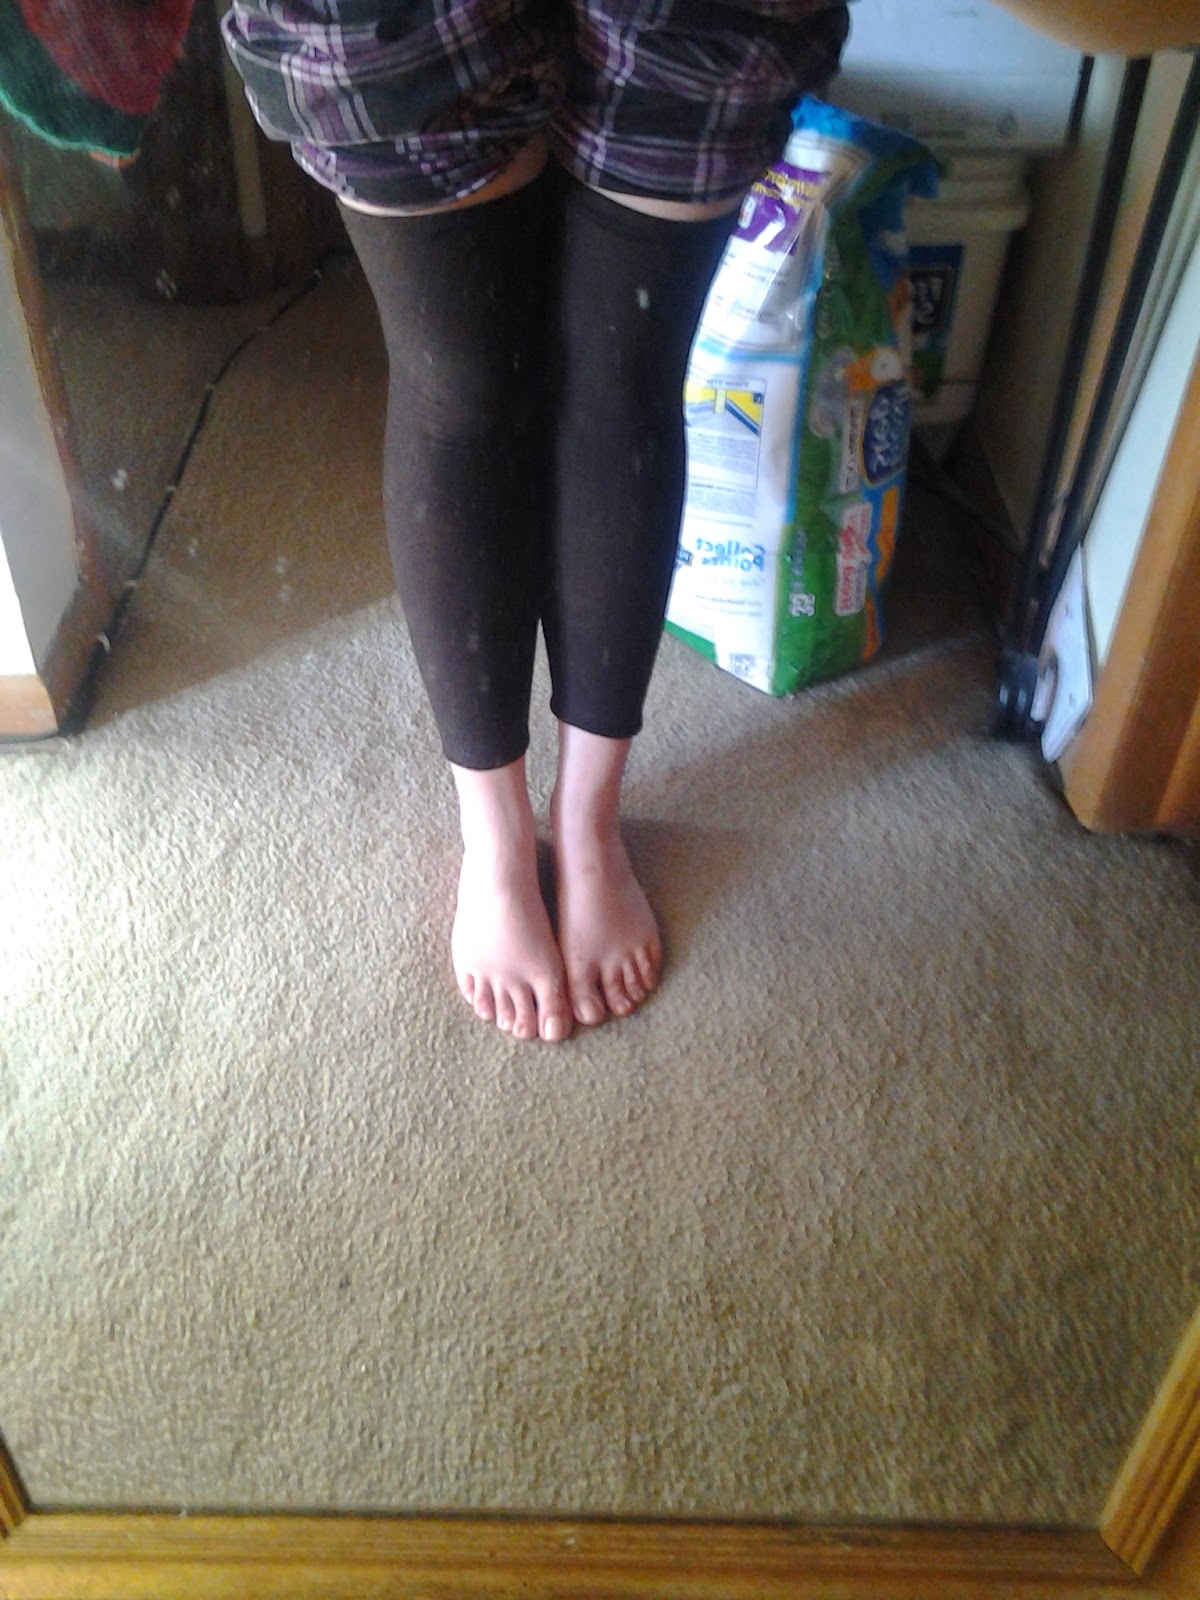
So early on I ran into a problem, Pyrhha has brown(not black) thigh high socks or whatever. I did not want to invest a whole lot of money into this so I got creative. 

So I found a pair of brown knit tights that not longer fit me in the crotch area. Now these never really fit me so I found a good use for them. I cut the top parts off so I only had the legs left.(The feet where already missing because I had cut them off a year ago).

Next I measured out elastic to fit around my thigh's. 
Asides from the old tights and elastic you'll need matching thread and a sewing machine. You might need appropriate needles to sew with using the machine but I didn't and it still turned out ok.

Now for the steps(my idea of steps anyways) 
  • You can either sew the elastic together right away but I don't entirely recommend it. 
  • Either way stretch it out as much as you possibly can while sewing because It will not stretch a whole lot once you have sew all the way around. 
  • Use pins to sort of help see how much space to leave as you sew around. 
  • No really, stretch it out. If it ends up too loose the elastic is the right size for your thigh and will keep it up. 
  • If you didn't sew the elastic together right away make sure to do so before you close it up. This means either pull it through the band space you created or attach a safety pin to help push the elastic through the band. The safety pin method is really helpful. Make sure to go back over your sitches a few times with the machine to make sure the elastic stays together. 
  • Once the elastic is sew together finish sewing the band all the way around the top. 
  • I didn't worry about the bottom opening since I'll be wearing boots with it. 


And thats what it looked like in the end! I forgot to stretch it out so it was a bit more difficult and time consuming for me but it worked well. I'm pretty happy with how they turned out :>

Anyone out there have any suggestions?


So I hope I get it all done in time, here is the sphere in its early stages. 


But you know, I'll be fine. I'll post more pictures later with even more stuff done. 

Follow us on Pinterest Twitter and Facebook and watch us on Youtube


Friday, August 30, 2013

Diy Vanellope Von Shweetz hair clips using.... beads!!!!


So as some of you may know, RB Simms did a Vanellope cosplay very recently to add to a Disney Princess cosplay group we did. And once we got closer to the date we realized we were missing a very vital part of her cosplay.... Vanellopes candy adorned head! Ya I know... how could we possibly forget. Well running a productions company leaves you with those moments a lot.

So in my moment of craftyness I remembered how she had some stars in her hair and they looked familiar. And after rummaging through our 'going to goodwill' bag I found the old box of beads I'd loved as a kid. And guess what? The beads were perfect for small sprinkles and bits of hard candy!

So you'll need some stuff.


  • A lot of bobby pins(enough for each bead)
  • Lots of beads in bright colors with preferably round or cylindricly shaped. And some yellow star beads(I had these from when I was younger so either a craft store has them  or your young siblings do.
  • A hot glue gun or whatever heavy duty one you want to use.
  • Oh and a peice of card board or thick paper.


Now lets get started! Its so easy its like one or two steps.

1) Take a bead and put a little bit of hot glue on the back
2) make sure the bead is going to be glued to the top of the bobby pin that has the shorter end that curls up slightly.
3) I had a peice of thin card board laying around that I pushed to the end of my table and put the bobby pins with beads still drying on the card board to dry. You could also use a thin magazine or junk mail.
4)though the picture shows wire cuters/wire I did not like it and I went s ddifferent route.
And now you are done! Sorry I didn't get pictures of RB wearing them :< 
But here is the finished product


not the best picture of the hair clips but you can sort of see them :

Pageviews