Showing posts with label Lulu. Show all posts

Friday, July 25, 2014

Cosplay Diary: Disney's The Rescuers, Translating animals into cosplay

So for Geek.Kon this year my wonderful bf and I are going to try our hands at cosplaying together. I know, this is new so it could go very well or I'll never want to cosplay with him again. But in the wake of  Anime Milwaukee and my wonderful Pyrrha cosplay, he rose to the occasion and helped me build a lot of it. Actually he helps me a lot in general when it comes to me roaming around in Cosplay. So I figured the time has come. We are in this one together!

To kick things off Bov(my bf) chose for us to do Cloudy With a Chance Of Meatballs(2, lets face it, those foodamls). But this blog post won't be focused on that, yes I'll get to the focus part soon. I decided we should do Miss Bianca and Bernard from the Rescuers.


So you see where our problems arise? As much as I love the characters I struggled with the creative freedom to do whatever the heck I wanted with these guys. All I knew for sure is that I wasn't going to do a furry suit(so many reasons) and I didn't want to do kigurumi's(I wanted to use some of that freedom :>)


But here is my biggest piece of inspiration. Its a little thing called Disney Bounding, which I have never done for obvious geographical reasons,(Also it is not to be confused with cosplaying as the link will explain) but I follow cosplayers and artist who have. Like Mr. Leo Camacho who's Disney Bound outfit for the Rescuers inspired what direction I wanted to take this cosplay. 


I found that I want to do something like this but you know, more cosplay like. I looked around for more pictures and found some elements that I did and did not like as much. 

Like big ears, that is a no for me, I will shoot myself in frustration and it would be difficult for Bov to wear them as well. But I love the white wig and hat that HoneyKyouya has going on in this picture :>
click on name for her da page
But this one uncredited picture has served as my biggest inspiration! (found it on this Forum)
Help me credit this artist!!!!
Now I'm behind on blogging so in reality I already bought my outfit(thrift stores!) and I will probably post pics soon but I'm just waiting on the wig now. I also started the small Mouse ears and I will eventually start the tales since I don't think they'll be that much more of a hassle. 

How do you guys translate animals or non human characters to cosplay? I'd love to hear/see it! Leave comments and links!

So follow us on Facebook and Youtube and follow my own personal Facebook page! 

Wednesday, July 9, 2014

CC- Adding a touch of fandoms to your everyday outfit?

Touch of Fandoms?

So there it is, me chilling outside in my old cut up jean jacket vest with an H and M shirt underneath. This is one of my personal favorites for adding little burst of geekiness to my outfits. Reason being I, like many others(I know you're out there), am hoarding awesome cute buttons from my favorite artist. Instead of of adding them to a bag or pencil pouch I add them to my jean jackets, scarves, and hats occasionally. 
Its subtle, but its there!
I kind of like doing this, maybe I should make this a thing here on the blog! Give you guys a bit more content!

~Lulu16

Follow me on Facebook! And follow us on Pinterest, Facebook, and subscribe on Youtube!

Monday, June 16, 2014

Cosplay Confessions- Fabric shopping Cosplays

Recently we are in a big rush to get ourselves ready for a convention in February.... you know, with the holidays and finals in between and all.....

So we are back in the swing of things and we have a new post and video for you!

And guess who's a few months too late on this? Team CCB....

Video!


1) When fabric shopping we like to do a bunch of different things. The biggest is reference pictures. You need a lot of reference pictures to match colors and decided what materials and how much you need.
- Front view
- Back view
- Full body
- A bunch of close ups.
Yes, you need all of these or most of these.

2)As for fabric, pick what you think the character's clothing is most likely to be. Get into there heads, what fabric do you see them wearing in the given situation? Some people like leather for certain things. I know a cosplayer out there did leather for something I'm making but I like suede since it has a good look to it. Pick what fits the bill in your mind. Look at texture, color, cost, and weight. A lightweight fabric might not work to make a jacket for example.
Also shop close to holidays since Americans are fond of having holiday themed sales.

Needles and the above go hand in hand. Thick fabrics need a heavy duty needle. Pleather and Leather and Jersey knit need special needles. Trust me, your life will be hell if you are using the wrong needle. More then likely you will either break your needle or the ruin the fabric. What am I trying to say? Get the right needle.

Interfacing... that is a whole other monster to conquer. We suggest knowing the enemy before using it. Interfacing is tricky but we know some good sewing and general crafting sites out there who can use it better than we can. Do not, please do not, use it on the final fabric because chances are you will mess up. That is ok, everyone messes up there first few rounds with it. No worries, just brush your self off and keep trying. Watching videos(if there are any) and reading blog post about it are helpful.

Patterns, these are suggestions. You consult it for fabric type, weight, interfacing and what not but it really is just consulting. You do not have to follow it completely unless it is an exact pattern. But knowing what it recommends is helpful so do not over look it.

Subscribe to us on Youtube and follow us on PInterest.

~SRP team

Friday, May 30, 2014

Cute Marshmallow Plushies(Cloudy With A Chance Of Meatball's 2 inspired)

Aren't they freaking cute??? This is what happens at far too late oclock.... gonna make more tomorrow! These are kind of a prep for an upcoming cosplay I have planned and I wanted to share these cute little fellows with all of you!

Should I make a diy for these guys? Let me know on here or on Facebook, which is where you can see most stuff before it makes its debut here!


~Lulu

Thursday, April 3, 2014

Ghibli inspired plate!

Well this little guy is a prototype for the SRP artist Alley! More designs to come!
I'm thinking 5 dollars per plate, any thoughts? Would you buy a more improved version?

Friday, March 28, 2014

Hungary makeup tutorial and Hungary Cosplay Spot light!


Yup! They are back! More makeup tutorials for people to enjoy! I wish I had more pictures of this cosplay to show everyone but this will have to do. I have a lot of fun doing Hungary and I have to say I love the new wig I have for her. This is one of the cosplay's I'm most proud of :>

I actually filmed a video on how to make her dress(or how I made it). One day I will complete it and show it off to the world!

Pictures of my Hungary cosplay because I'm proud of it!

My first time wearing the whole thing :>

Pirates!

More pirates!

New wig!

Me and my favorite Canada!

Me bewlidered by ketchup

And the frying pan video!
~Lulu

Follow us on Facebook, Pinterest, Twitter, and subscribe on Youtube!

Wednesday, March 26, 2014

Pyrhha cosplay WIP- Cosplay in review

Ok so, I've been putting this off and its lame. It is so lame of me.... but I really liked my finished cosplay but it was next to impossible to walk in.
No joke, elevators where a night mere for me at Anime Milwaukee. I was so panicked because people would get very close to me.

So issues i had.
- Neck piece choked me.... no really, I was in serious pain
- My thigh pieces didn't fit me perfectly and so they fell... a lot... like I couldn't walk. I got cuts too..... oh gosh, typing this out makes me realize why I didn't want to write this...
- Oh ya, lost one of my gloves in the elevator.... I was also upset because the gloves where not the right color(it bugged me because I wanted them to be brown).

So ya.... It was sort of a disaster for me. I felt like kind of a failure considering real life wasn't going to well. I was losing a really good job so I knew I wouldn't be able to fund many more cosplays for a while and I really wanted to do a good job. After this I felt like a failure in general, my own life wasn't going too well and my cosplaying was going just as good.
Not to mention my weight... I'm not saying everything would have been fixed if I weighed less but it was disappointed in myself. I tend to eat everything when I'm really sad and it is so incredibly bad for my long term physical health. The pictures just made me feel even more disappointed in myself not only about my physical health but how I had failed in making the cosplay wearable.

So ya, I put this off..... I'm such a wimp like that..... but I have to start facing all of my problems head on. No more putting it all off, I need to get over all of this and start moving on. Another job will come and everything will work out some way.

Here's some pictures....


Thanks for reading... it was just something I had to get out there. Now I feel like I can actually start doing stuff for the blog again. 
~ <3 Lulu

Follow us on Youtube, Facebook, Twitter, and Pinterest

Saturday, February 8, 2014

Cosplay WIP- RWBY's Pyrhha DIY tights plus Sphere and Foam armor Crafting sneak peak


So... that convention thing, ya that's closing in on me.... 

So I thought I'd share some more of my progress since everything is mostly done.... ok not really, but it is all manageable. 


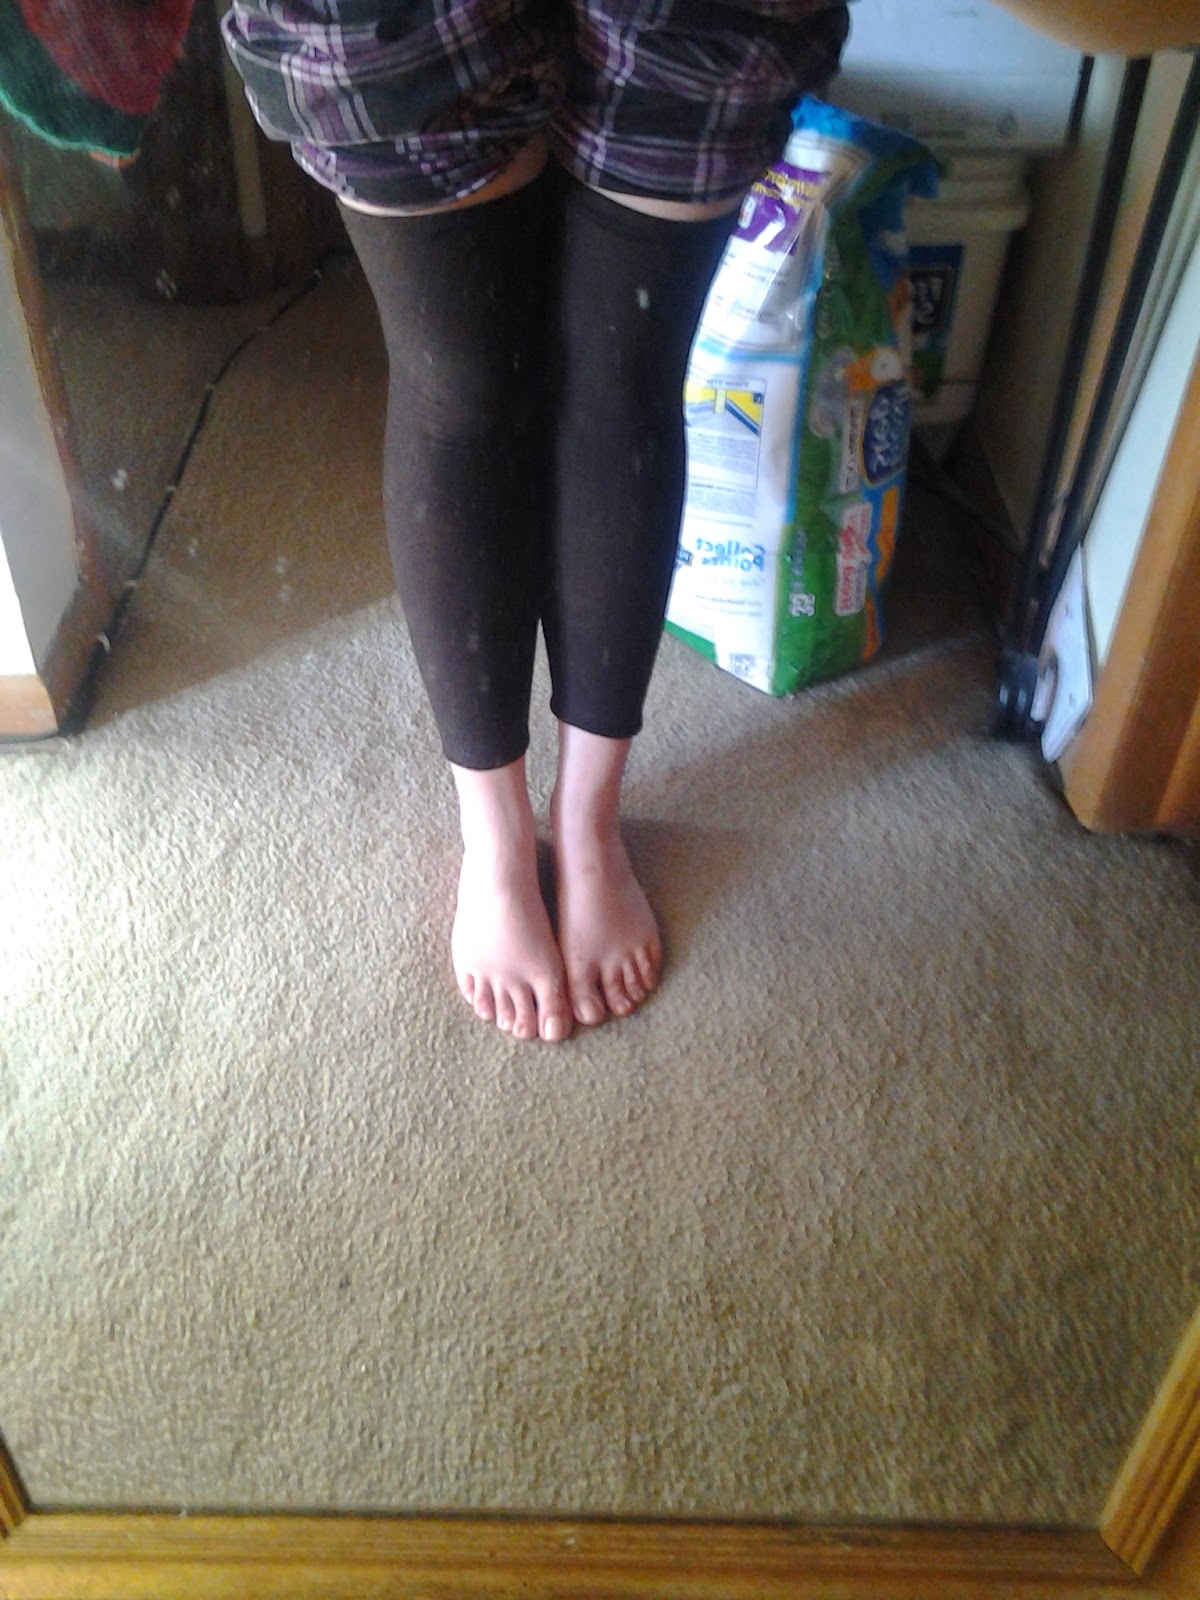
So early on I ran into a problem, Pyrhha has brown(not black) thigh high socks or whatever. I did not want to invest a whole lot of money into this so I got creative. 

So I found a pair of brown knit tights that not longer fit me in the crotch area. Now these never really fit me so I found a good use for them. I cut the top parts off so I only had the legs left.(The feet where already missing because I had cut them off a year ago).

Next I measured out elastic to fit around my thigh's. 
Asides from the old tights and elastic you'll need matching thread and a sewing machine. You might need appropriate needles to sew with using the machine but I didn't and it still turned out ok.

Now for the steps(my idea of steps anyways) 
  • You can either sew the elastic together right away but I don't entirely recommend it. 
  • Either way stretch it out as much as you possibly can while sewing because It will not stretch a whole lot once you have sew all the way around. 
  • Use pins to sort of help see how much space to leave as you sew around. 
  • No really, stretch it out. If it ends up too loose the elastic is the right size for your thigh and will keep it up. 
  • If you didn't sew the elastic together right away make sure to do so before you close it up. This means either pull it through the band space you created or attach a safety pin to help push the elastic through the band. The safety pin method is really helpful. Make sure to go back over your sitches a few times with the machine to make sure the elastic stays together. 
  • Once the elastic is sew together finish sewing the band all the way around the top. 
  • I didn't worry about the bottom opening since I'll be wearing boots with it. 


And thats what it looked like in the end! I forgot to stretch it out so it was a bit more difficult and time consuming for me but it worked well. I'm pretty happy with how they turned out :>

Anyone out there have any suggestions?


So I hope I get it all done in time, here is the sphere in its early stages. 


But you know, I'll be fine. I'll post more pictures later with even more stuff done. 

Follow us on Pinterest Twitter and Facebook and watch us on Youtube


Friday, January 17, 2014

Birthday's, videos, and hashtags?

Hey lovely duckies! This is the last weekend before our dreaded finals and we had some fun this week.

We first started off with celebrating Tricia's 18th birthday. Tons of things were twitted and we had wonderful classy dinner conversations about mono.


The birthday girl rocking her River Song dress


mono in a cup

And don't forget Deer God!


We tend to have fun over on twitter where we post random snipits that don't belong anywhere else. Go follow us for snipits and announcements! 

And check out the new video over on the channel! Make pancakes with everyone's favorite Oncler!


Monday, January 6, 2014

Cosplay WIP: RWBY's Pyrhha- armor trial and error

playing with my lovely new wig
Hey duckies! So lately over here at SRP we are booking it to get done with our cosplays set to debut next month at Anime Milwaukee. And guess what? We are no where near done and we have to face finals before it so yay! Either ways, I'm going to document a bit of my journey to accomplish my biggest challenge, Pyrhha from Rooster Teeth's RWBY.

So far the corset is almost done but needs a few touch ups, the boning, and the grommets to lace up in the back. 

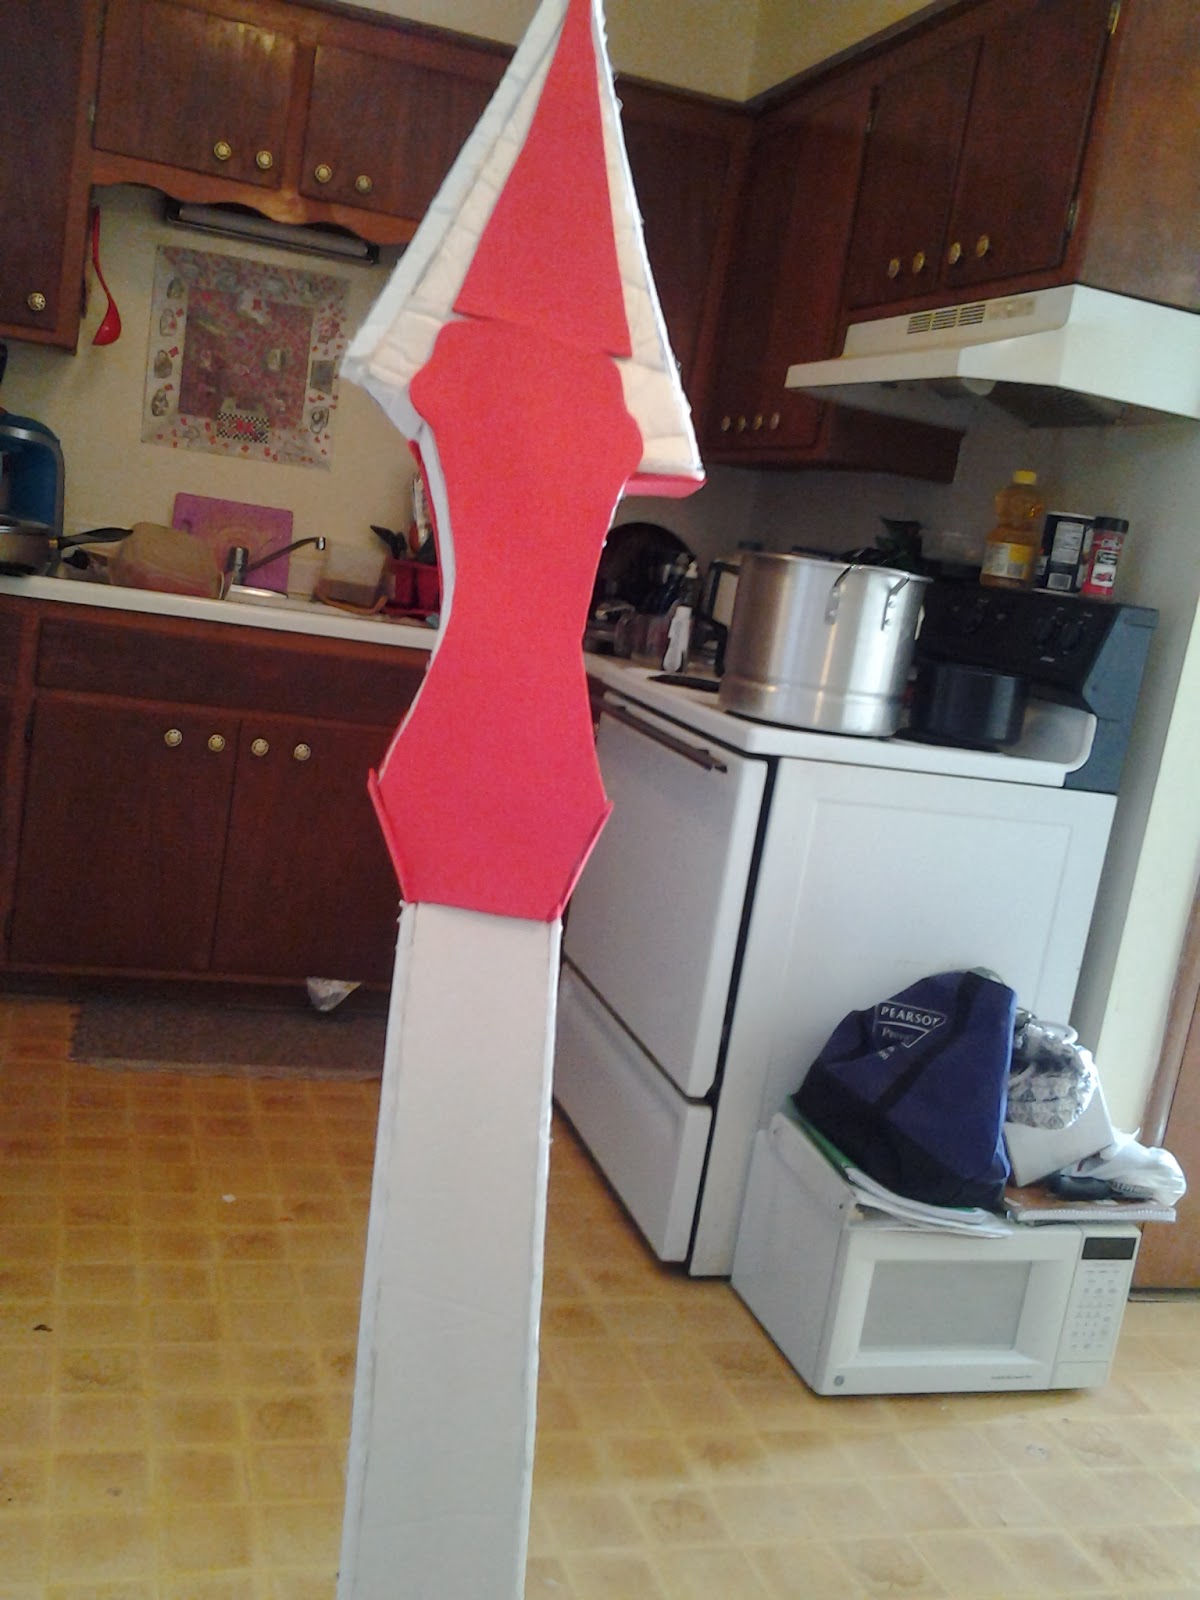
But that isn't what is troubling me. It is her countless accessories and armor. Not many have opened up and shared what they did to make it. Except one person who showed that they used worbla... which is very far out of my price range. 

My solution? I ran around Michaels, Joannas, a local craft store, and the dollar store. And I think its turning out very well. 


Instead of investing in Worbla I found some cheap foam board at the dollar store. Its cheap in the sense that it is pretty thin compared to real foam board.


Good news is that because it is thin it bent and curved very well and retained the shape. 


To achieve the gold look I actually didn't paint it or spraypaint it. I found big sheets of gold looking paper at the local craft store.
1) first I traced the shape of the armor.(BTW's use an exacto knife)
2) I made sure to add a half inch to the traced image 
3) Cut it out(make sure it has the extra half inch)
4) I used a glue runner(like the one scrap bookers use) to hold the paper and foam board in place temporarily. 
5) Made relief cuts so I could fold over the extra
6) hot glue gun everything that you folded over to the foam board. Don't hot glue gun any of the parts that aren't folded over.


And there you go, I did the same with the smaller parts. The ball looking thing didn't work out so I'm going to paper mache one that fits better. 


 So far its looking good. My range of motion is better than expected but it isn't great. I can only walk so fast but hopefully that will change with the addition of high heels
~Lulu

Follow us on Pinterest and watch our videos on Youtube <3

Sunday, January 5, 2014

New years Cosplay Organization challenge?

One of the 4 resolutions was to actually get materials organized..... Easier said than done right? Well this is one that I really think we should tackle. So I'm going to go for it. I will find ways to get all of my cosplay stuff organized. The first step of the challenge deadline will be by the end of the month and that will be to get all of my wigs and makeup organized. I can do it :)


Sunday, December 8, 2013

Our favorite geeky gifts guide!

As the immenant gift giving holidays approach you might be lost as to what to get for those hard to shop for Geeks and Nerds. Well.... this might not be that helpful. I'll do a few more of these as other stuff pop up. But its always good to have ideas right? Consider it a success if you actually give someone something. Don't worry, there is no shame in keeping it for yourself. 


Sometimes you just can't beat the pretty jewelry. Shana logic has a whole array of awesome shiny stuff to wear!
Not to mention some oddball stuff too :>
Shop Shana Logic!
\

Everyone gets a bundle of goodies during the holidays. What better to hold it then a fandom based cookie jar like this one from Game of Thrones. 
Get it here!

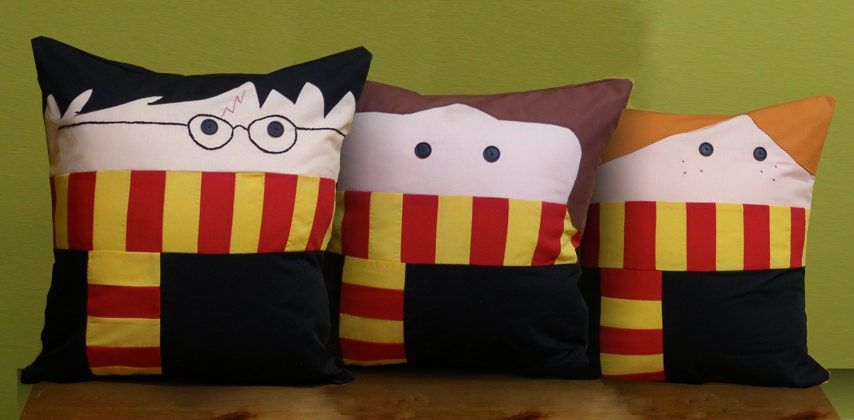
And who doesn't want a nice trio of pillows to cuddle up to this season????
Get it here!


But don't let the price tags hold you back! There are always diy options out there on the web! Here's on I found that will be particularly useful.


Here's Doodle Crafts DIY gift jar for Doctor Who lovers.


~Lulu

Saturday, November 30, 2013

5 posing and 5 photography tips and tricks for Cosplay!

Hey peanut butterflies! We are back this saturday, the first in a while sadly, but back non the less. This week we are in great spirits due to our brand spanking new camera! Whooo hooo! New camera!!! So I decided that i'd be fun to educate ourselves on camera men ship.... ya lets just get to it....

After gathering from various sources, here are the best posing tips for Cosplayers that any of us here at Cosplay confessions can hope to give. Don't worry, there will more to come.


  1. Know the angles of your face. 
  2. Know the angles of your face
  3. Watch America's next top model if you don't get what your angles are.
  4. Did I mention know your face? 
  5. Know your posing limits
Now growing up with ANTM posing and knowing your face have always been a thing for me. What it means is very simply know your face. Know what angles your face looks best and worst in. Do you need to open your eyes more? Relax your face? Is it better to get the glare going on with your eyes to make them pop? Double chin a problem? Big ears? Big nose? So how do all of these imperfections work together?Practice in a mirror or with photobooth or a regular webcam to test everything out. Put it on continuous shots and see what worked and what didn't. 
As for posing limits, I mean know how flexible you are and can be. If you know you can't climb up a hill or balance on a log to get a good picture then that's ok. Know how much you can do before you hurt yourself or your costume or both. We all have limits to posing and that's normal, in that case talk to the photographer. This also applies to weather, if the weather is extreme talk to your photographer about discomforts because it might be time to call it quits before you get seriously hurt. 

Now on the photographer end of stuff. 

  1. Cosplay photographers, don't be afraid to be back seat drivers here. Cosplayers depend on you to tell them if something looks good or bad. Keep them informed if their outfits are disheveled, fix wigs, get feed back from them about poses they want to do or don't want to do. Give them options. GET INVOLVED.
  2. Just as cosplayers need to know their face and body you need to be on your toes. You need to find the most flattering angles to get them from or ask them to change slightly. Find what looks really good don't be afraid to move them if it looks bad. 
  3. Photographers, I don't know who first said it but, Cosplaying is a work out. Not just for cosplayers but for you as well. If you aren't causing traffic jams at conventions or breaking a sweat then you need to get in motion. Moving around will get you those great flattering shots. 
  4. Know your rule of thirds. This is the idea of mentally griding off a picture to be three by three squares. Cosplay photography is about big hits and huge focal points, the rule of thirds can help you do this. Mastering this can really get you those golden shots! Read up on it here!

  1. Get rid of negative space! Whenever I'm creating something I like to stop and ask "do you really need it", ask yourself this when it comes to empty space. Does it help create a dramatic picture? If not you are probably losing an opportunity to get up close and personal with the cosplayer. Along with that you may be losing important details from the costume from really far way. Please..... don't lose that opportunity.... 
So that was about 5 and 5, next week we will get more in depth with some of this stuff! Be prepared! 

~Lulu

Tuesday, November 26, 2013

Long time no post!? Daisho Con 2013 in review

Sorry duckies, we've been slacking over here at SRP. A few of us work retail and then the others get swamped with hw. Again sorry.


The new holiday seasons is inspiring me to do more diy's for Cosplay Confessions and makeup tutorials. We'll see how they go.

Daisho Con was amazing this year! Diva is still recovering from her con hangover but she getting there. We had a blast and I vlogged a lot this past weekend so yay!

As for some mini news we are gearing up to get new gear over here at SRP. Possibly a new camera, tripod, external hard drives and what not. Probably gonna go diy some extra camera gear in the process using some stuff from pinterest. Diva and I were inspired by the The Enthusiast panel that we caught the tail end of. It was super informative and now we wish we'd caught their posing panel. They are awesome! We seriously suggest checking them out if you are ever at a convention with them :)


And us as awesome pirates


 And ya! Thanks to Misaki cosplay who was formerly a part of SRP but she's doing some pretty awesome stuff now so way to go for her! The shots turned out great :>

I'm gonna go sift through our vlogging footage and see what makes the cut or not! Hope to write a bit more later!

~Lulu

Sunday, November 10, 2013

Wig storage ideas????

Over here at SRP we have accumulated quite a bit of wigs over the years. So what do we do with them during the off season? 

Well there is the trusted wig heads. But those get a bit expensive for non styled wigs. 


So what else is there? 

Here are some of our favorites. 

The ziplock bag. These are my favorite for smaller not styled wigs. They are easy to get a hold of and sometimes are just left over from when you first get them. They can also store much more easily into boxes, bags, plastic drawers, and so on. 

Another favorite I've contemplated is actually hooks. Like hanging hooks on the wall(really high up if needed) and hanging longer wigs on it. Does this sound like it could work? I want to try it soon(I kept a wig in the bathroom this way once to let it dry). I have a lot of longer wigs that need wig heads but hooks could save me some time, space and money. 


Now I've heard this rumored around the net but I can't seem to find the original source picture, but its genius. When you travel to a convention carry wig heads in plastic container boxes with handles!


Like that one above! Think it could work? I like the idea. I used to just take brown paper bags to conventions to hold my wig heads with the wig on it, but that doesn't work very well.... no surprise there. 

~Lulu

Pageviews